Getting Started
This chapter explains how to create an augmented reality project with the Wikitude Studio in a few steps:
Create project
After logging on to Wikitude Studio for the first time, the project page is displayed. ADD PROJECT opens a dialog which allows you to select the project type, Image or Object, and to define the project name. In this tutorial, we will create an image project.
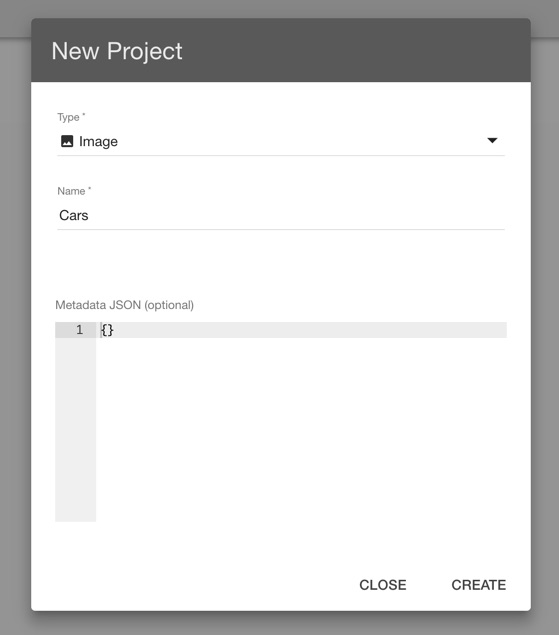
If you want to learn more about object projects, read more in the object targets section. The metadata JSON-field is optional. It allows you to store additional information to a project. This information can be retrieved via the Wikitude Studio API.
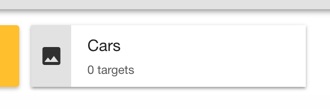
After project creation a project item is displayed. The icon indicates the project type - image project in this case. It displays the name of the project and below the number of targets the project contains.
Add targets to the project
A click on the project item opens the target page which displays all targets the project contains. Click ADD IMAGE TARGETS to upload one or more images. Supported file types are jpg and non-transparent png. More about choosing a proper target image can be read in our slidedeck Best practice with image targets.
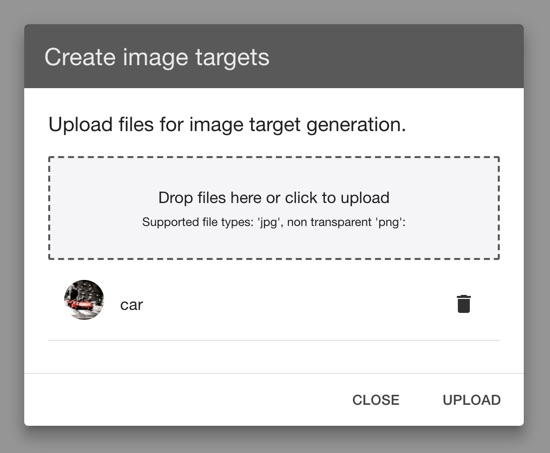
Currently, the number of target images which can be stored per project in the Wikitude Studio Editor is limited to 1000. For object targets, the maximum number is 10. When using cloud recognition, the maximum number is 50,000 target images.
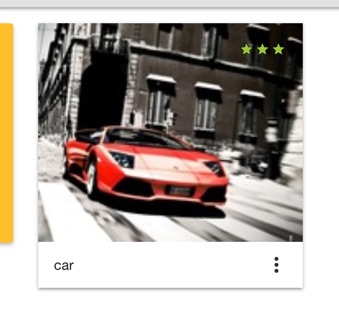
After the upload, the image targets are created on the server and they are displayed on the page. An image target item displays a star rating in the top-right, and a menu in the bottom-right corner, apart from the image itself. The stars indicate the quality of the target, how well the target is recognized on the device. The more stars a target gets, the better it is recognized and tracked.
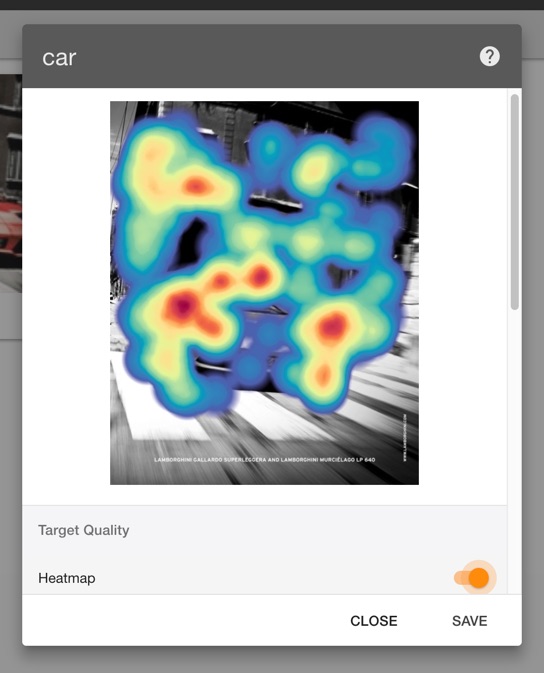
Sometimes the rating is not sufficient for a quality indication. Therefore, a heatmap can be generated in the properties dialog. Open the properties dialog from the menu in the bottom-right corner. The heatmap displays hot zones in red color on top of the image. Hot zones are areas on the image which are more likely to be recognized.
Add augmentations to the target
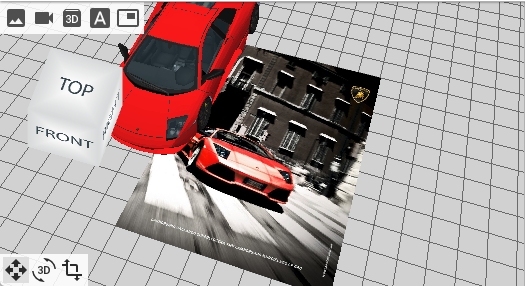
Click on the image target item to open it in the Wikitude Studio Editor. Select the augmentation of your choice from the Insert menu. Various types of augmentations are supported. Each type is explained in more detail in the section Studio Editor - Augmentations. Keep in mind that any action you take is applied immediately. Moreover, the project saves automatically. There no Undo function.
Preview and test the project on the device
After placing the augmentations on various targets of the project, it is ready to be previewed and tested on the device. In order to preview you need to have the Wikitude App installed.
 Preview... in the project toolbar, opens the preview dialog.
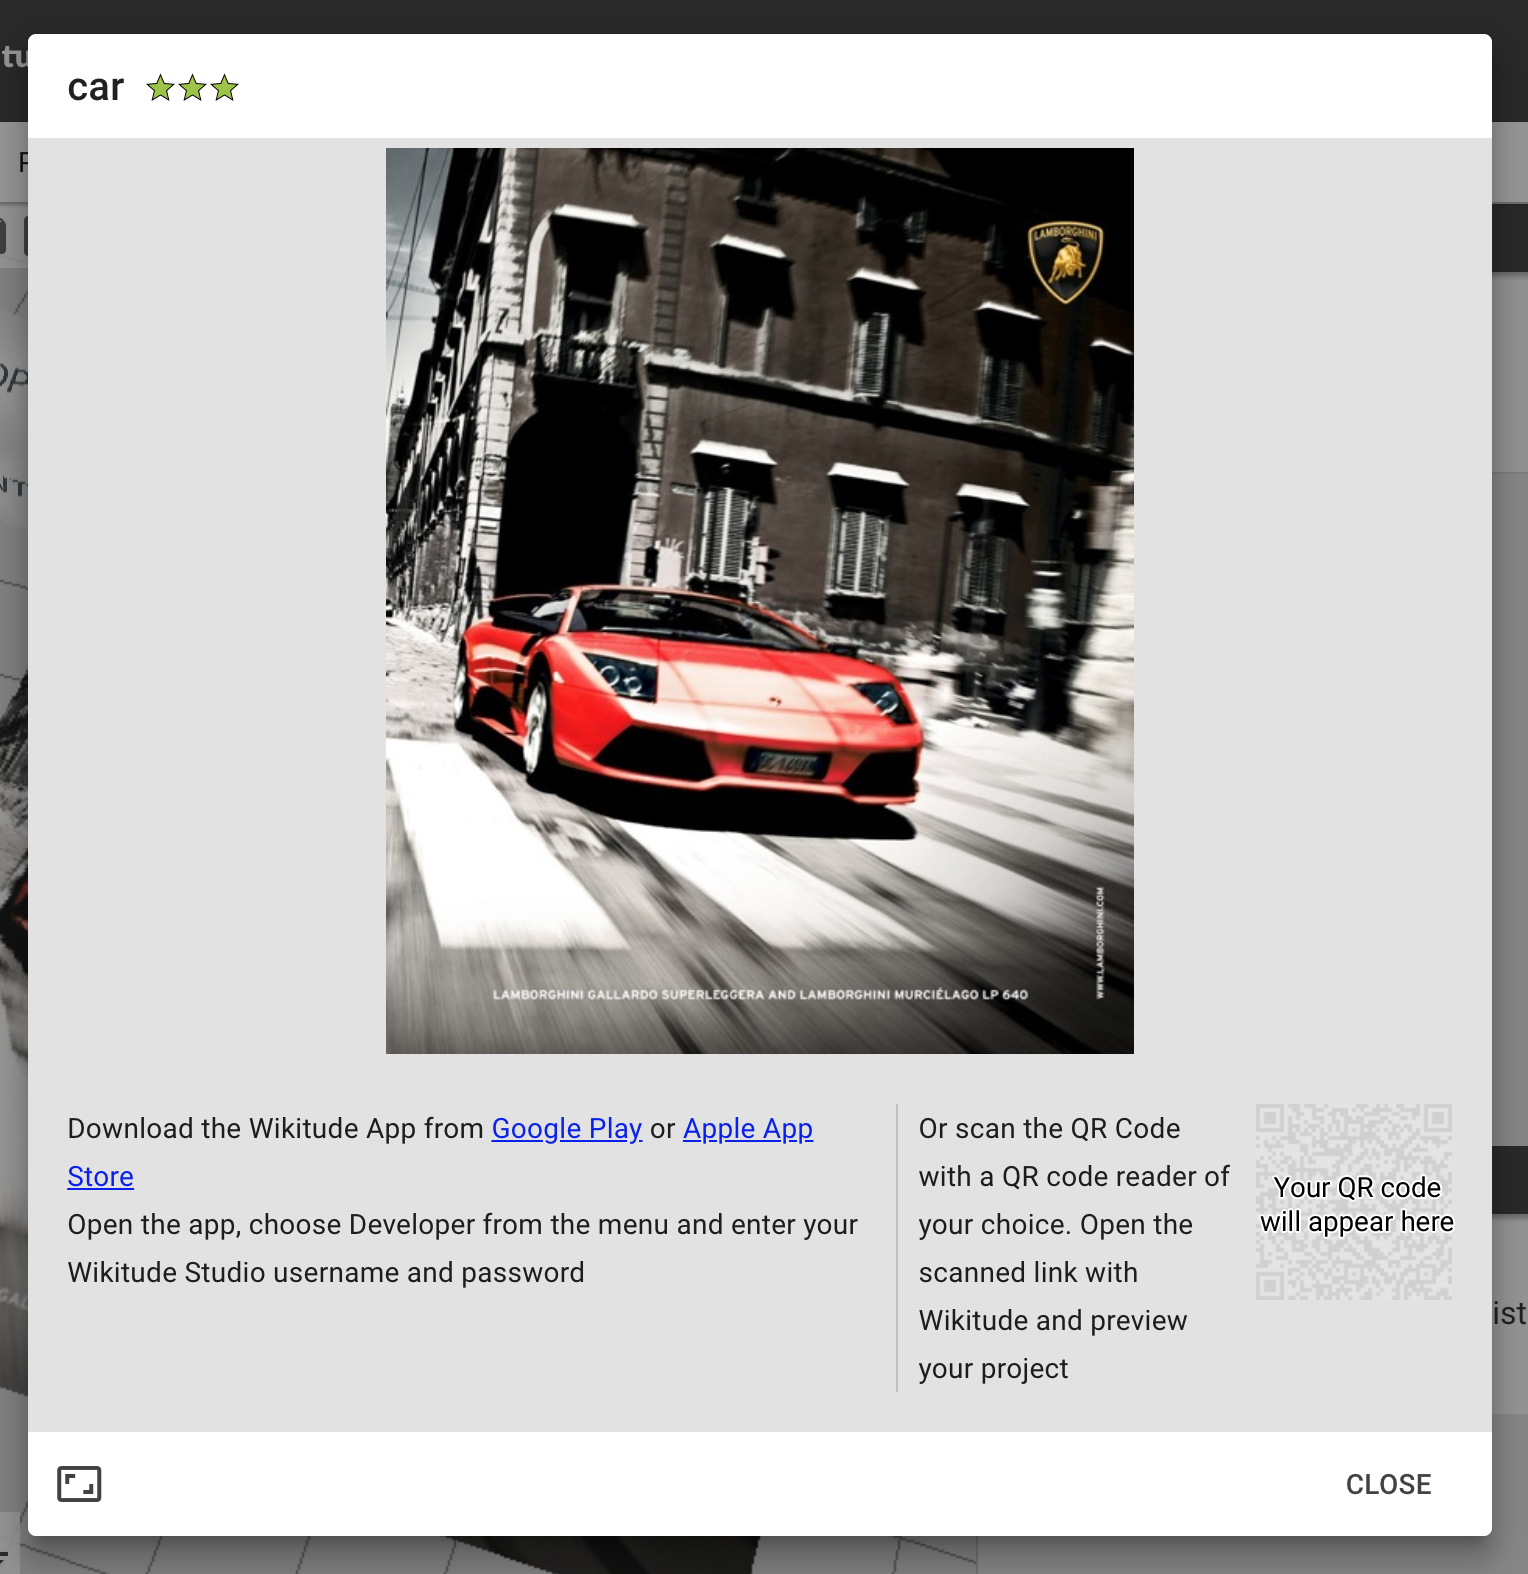
The preview dialog displays the current target image and a QR code. After scanning the QR code with a mobile device, the Wikitude App starts and the project is loaded. Point the camera to the image displayed in the preview dialog to preview the project. Learn more about the details of how to preview your project in the Preview Dialog documentation. We recommend printing the image targets for better results in image recognition and tracking.
Export the project
In the final step, you can export and share your project. The available options are: Download offline project (Project > Download offline project...), or Hosting (Project > Hosting...). To learn more, see the Project export options section in this documentation.