# Advanced Rendering
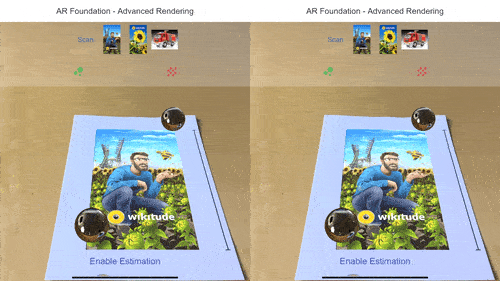
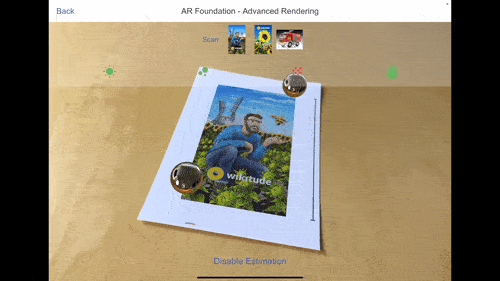
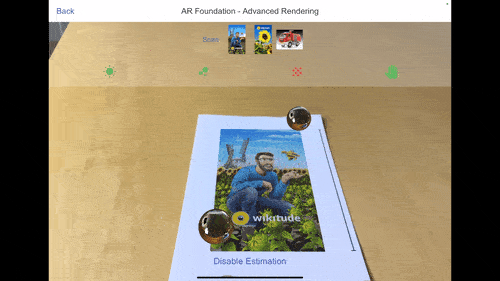
AR Foundation provides additional features and concepts to enhance the visual immersion of Drawables. The AR Foundation - Advanced Rendering sample scene in the Unity Expert Edition samples shows in an exemplary way how to utilize these features. The sample also provides icons that display the support for advanced rendering features. Please note that feature support heavily depends on platform, device, and Unity version.
The following sections outline the key parts of advanced rendering as well as how to enable and use them.
# Light Estimation
Directional lights try to mimic sunlight or ambient lighting to shed light on the entire scene in a realistic way. This can clash with the lighting conditions of the physical scene resulting in unrealistically bright augmentations. AR Foundation provides an estimation of the real-world light properties - such as light direction and color - based on the incoming camera frames.
To use this light estimation data, subscribe to the frameReceived event of the ARCameraManager. The listener method must receive a parameter of type ARCameraFrameEventArgs. This struct provides different data extracted from the camera frame, but only the lightEstimation property is required for this feature. For more details, see the AR Foundation documentation on ARLightEstimationData (opens new window).
public class LightEstimator : MonoBehaviour {

    public ARCameraManager CameraManager = null;

    ...

    private void OnEnable() {
        if (CameraManager != null) {
            CameraManager.frameReceived += FrameChanged;
        }
    }

    private void OnDisable() {
        if (CameraManager != null) {
            CameraManager.frameReceived -= FrameChanged;
        }
    }

    private void FrameChanged(ARCameraFrameEventArgs args) {
        ARLightEstimationData lightData = args.lightEstimation;

        ...
    }

    ...

}
The light estimation data contains - if supported by the platform and device - information regarding these light properties:
- (Main) Light Brightness
- Color temperature
- Color correction
- (Main) Light intensity
- Main Light direction
- Spherical Harmonics
To use a given property, check for its availability and update your main light's property accordingly. Also, make sure the corresponding light estimation mode is set in the ARCameraManager component of your ARCamera.
ARLightEstimationData lightData = args.lightEstimation;

if (lightData.averageMainLightBrightness.HasValue) {
    _light.intensity = lightData.averageMainLightBrightness.Value;
} else if (lightData.averageBrightness.HasValue) {
    _light.intensity = lightData.averageBrightness.Value;
}
# Environment Probes
Environment probes create an environment texture based on imagery from the camera frames. This texture allows Drawables to reflect real-world objects and let their surfaces be influenced by the surrounding scenery.
To enable real-world reflections, attach the AREnvironmentProbeManager component to the ARSessionOrigin of your scene. Environment probes can either be placed automatically (as shown in this sample) or manually. Manual placement can be used in static real-world scenes where the relative position of the augmentation is known beforehand. For more details, see the AR Foundation documentation (opens new window).
WARNING
On ARCore for Android, the environment probe subsystem directly modifies the main light and light estimation. Thus, light estimation is not compatible with environment probes
# Camera Grain
A small but noticeable difference between Drawables and the underlying camera feed of real-world imagery is the lack of camera grain noise. To enable augmentations to blend in even further, this camera grain can be extracted and applied to virtual objects as well.
Similarly to light estimation, the CameraGrain.cs script listens to the ARCameraManager's frameReceived event. The ARCameraFrameEventArgs struct contains the grain noise texture as well as the noise intensity, which can be sent to a slightly modified version of the CameraGrainShader.shader found in the AR Foundation samples (opens new window).
private static readonly int _noiseTexID = Shader.PropertyToID("_NoiseTex");
private static readonly int _noiseIntensityID = Shader.PropertyToID("_NoiseIntensity");
private static readonly int _estimatedLightColorID = Shader.PropertyToID("_EstimatedLightColor");

...

private void OnReceivedFrame(ARCameraFrameEventArgs args) {
    if (_renderer && args.cameraGrainTexture) {
        _renderer.material.SetTexture(_noiseTexID, args.cameraGrainTexture);
        _renderer.material.SetFloat(_noiseIntensityID, args.noiseIntensity);
        _renderer.material.SetColor(_estimatedLightColorID, Mathf.CorrelatedColorTemperatureToRGB(_light.colorTemperature) * _light.intensity);
    }
}
For the modified version of the shader, the CameraGrain component also sends the estimated light color, which is calculated by converting the color temperature to an RGB value and multiplying it with the light intensity. The values of the light itself are set by the LightEstimator component described in the light estimation section.
Additionally, the data from the 3D noise texture, whose coordinates consist of the two-dimensional screen position and the noise intensity, have to be mapped to the UV coordinates of the mesh. The obtained noise color is then blended with the main color, which itself is then blended with a light corrected color value.
Properties {
    _MainTex("Albedo Map", 2D) = "white" {}
    _NoiseTex("Noise Texture", 3D) = "white" {}
    _NoiseIntensity ("Depth", Range(0,1)) = 0.0
    _NoiseSpeed("Noise Speed", VECTOR) = (30.0, 20.0, 0, 0)
    _EstimatedLightColor("Estimated Light Color", COLOR) = (1, 1, 1, 1)
}

...

fixed4 frag (v2f i) : SV_Target
{
    UNITY_SETUP_STEREO_EYE_INDEX_POST_VERTEX(i);
    float scale = 3;
    float2 nuv = scale * (i.screenPos.xy/i.screenPos.w);
    nuv.xy += float2(sin(_Time.y * _NoiseSpeed.x), cos(_Time.y * _NoiseSpeed.y));
    float3 nuv3d = float3(nuv, _NoiseIntensity);

    float4 mainColor = tex2D(_MainTex, i.uv);
    float4 noiseColor = tex3D(_NoiseTex, nuv3d);
    float4 finalColor = lerp(mainColor, noiseColor, 0.25);
    return lerp(finalColor, finalColor * 1.5 * _EstimatedLightColor, 0.5);
}
# Human Depth Occlusion
By default, Drawables and other virtual objects are rendered above the real-world scene. This results in augmentations occluding objects and people who are between the camera and the expected real-world position of the augmentation.
By attaching the AROcclusionManager component to the ARCamera of the scene, your virtual content will be covered by humans and human body parts (e.g. hands) that are between the camera and the augmentation. The AROcclusionManager has two resolution parameters:
- Human Segmentation Stencil Mode: Sets the boundaries of human segmentation
- Human Segmentation Depth Mode: Sets the measurement of real-world depth
These two parameters affect the quality and performance cost of the human occlusion. Disabling any of the two will disable human occlusion. Visit the Human Occlusion announcement (opens new window) for more details.
Limited Support
Human occlusion is currently only supported by ARKit on iOS 13.0 or later. For more details visit the ARKit documentation (opens new window)