Setup Guide UWP Native API
There are only a few steps necessary to add the Wikitude SDK to your UWP application. This will explain them in detail.
Prerequisites
- Visual Studio 2017
- The Universal Windows Platform development workload.
Project Setup
Load your UWP project
The first step is to open an existing project in Visual Studio. If there is no project already created, do so using the new project wizard, and select a Windows Universal base project.
Adding the Wikitude SDK runtime component
To keep things clear, you should copy the Wikitude Native SDK runtime component (wikitude.sdk.winmd and *.dll present in Library folder) into your UWP project structure. Having it somewhere else on your machine might lead to confusion when updating to a newer version of the Wikitude Native SDK.
After the runtime component has been copied, it can be added as a Reference 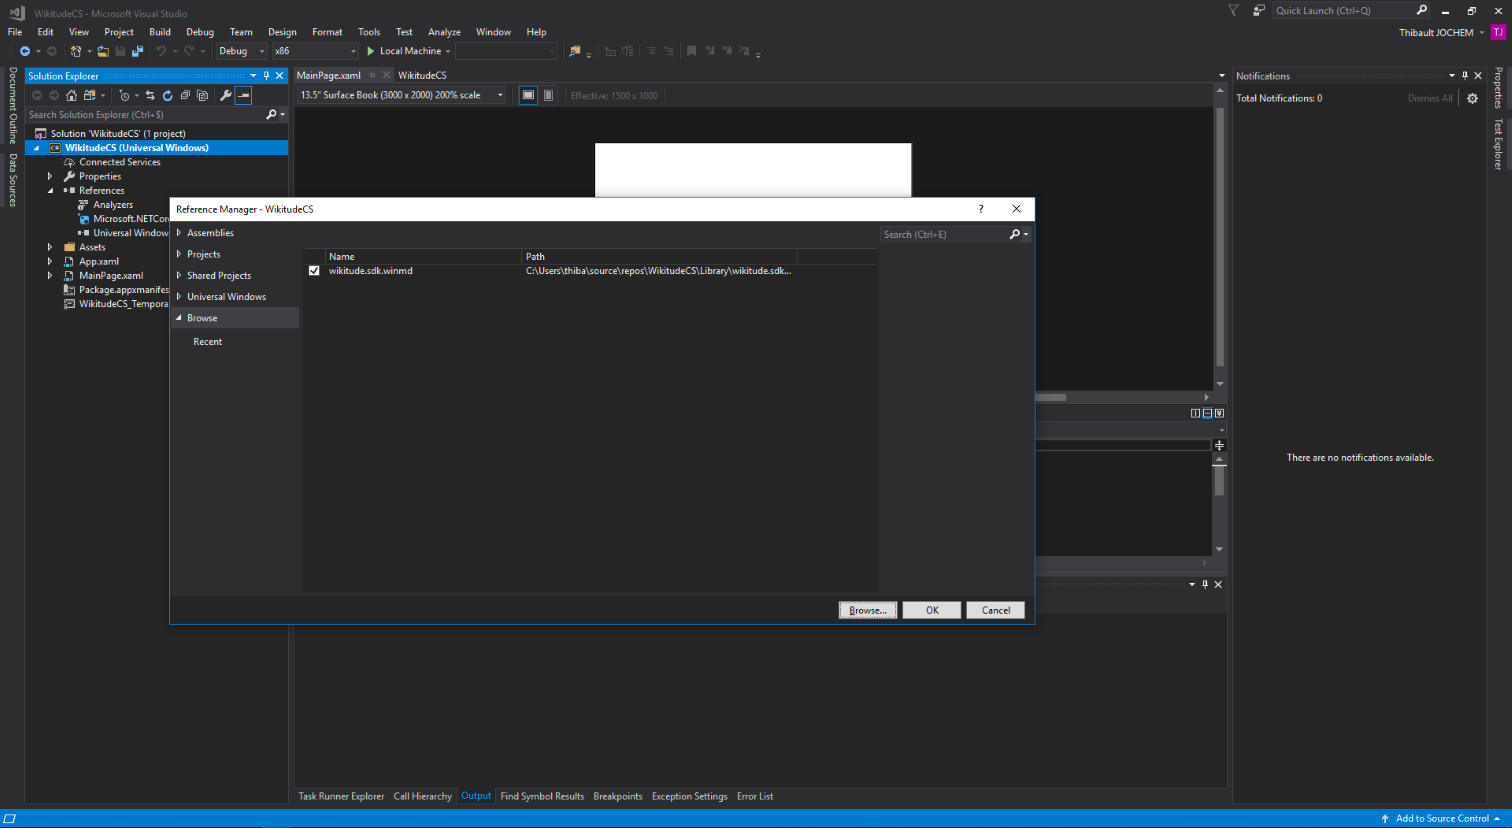
Using the Wikitude Native SDK in your Application
After the setup step is completed, the Wikitude Native SDK is ready to be used within a UWP application.
The main class to work with is wikitude::sdk::uwp::WikitudeNativeSDK. It's the central point for creating trackers and to control camera related settings.
The Wikitude Native SDK can be used in trial mode without any paid license, but to remove the watermark, a valid license has to be set using the setLicenseKey method.
- In the Package.appxmanifest set the
Webcamcapability to allow the app to access the camera, and theInternet (Client)capability to allow cloud recognition sample to work correctly.
Application Lifecycle
To integrate the Wikitude Native SDK into the application lifecycle,
use the start and stop methods of the SDK class. A good place to call them is e.g the Application::Current->Resuming and Application::Current::Suspending events.
Trackers, Camera and Rendering
How trackers, the camera controls and rendering can be used, will be explained in the example part of this documentation. Each feature will be explained in detail through a real usage example.
- Read this chapter on how to obtain a free trial key, which you will later pass to the Wikitude Native SDK.