Hardware control
The Hardware control example series will show how you can use the hardware API. The example is split into four different parts which illustrate the different features of the API, both native and Javascript. At the end of the series, you will have a complete overview of the API.
Camera Settings
The first part of the series will present a general overview of what is possible with the Wikitude SDK.
Camera Position
The camera position defines if the front or back camera should be started. This can be set by using WTWTArchitectStartupConfiguration.captureDevicePosition or AR.hardware.camera.position.
Camera Focus Mode
The camera focus mode defines which focus mode is used internally by the camera.
It can be set by using WTArchitectStartupConfiguration.captureDeviceFocusMode or AR.hardware.camera.focusMode.
The camera focus mode can be one of the following modes:
- Continuous: Is the default if the device supports it, in this mode the camera will try to refocus automatically when necessary.
- Once: Can force the camera to refocus once on the current view. If you need to change focus you can set this value again. Each time the value
ONCEis set, the camera tries to focus on the current scene again - OFF: Is disabling auto focus and will set the focus to the specified manual focus distance.
Manual Camera Focus
The focus distance ranges from 0 to 1 where 0 is closest focus possible and 1 is at infinity focus.
It can be set by usingWTArchitectStartupConfiguration.captureDeviceFocusDistance or AR.hardware.camera.focusDistance.
Camera Resolution
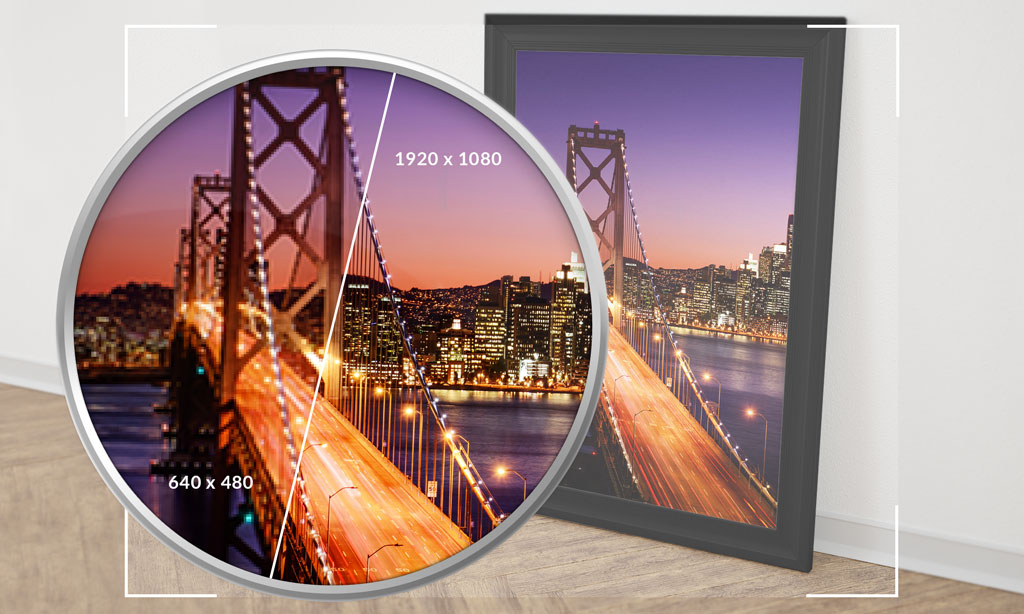
It can be set by using WTArchitectStartupConfiguration.captureDeviceResolution and not be changed during runtime. The recommended values are the following:
| Recommendations | Geo | Image Tracking | Extended Tracking | Cloud Recognition | Instant Tracking |
|---|---|---|---|---|---|
WTCaptureDeviceResolution |
AUTO |
AUTO |
SD_640x480 |
SD_640x480 |
SD_640x480 |
This setting will only be used on armv8 devices, all other architectures will default to SD_640x480 .
Camera Frame Rate
The camera frame rate can be set to either 30 or 60 fps. If 60 fps is selected the camera resolution may be changed for the 60 fps to be possible.
The first supported combination is used by the SDK:
- FullHD 60 fps
- HD 60 fps
- SD 60 fps
- FullHD 30 fps
- HD 30 fps
- SD 30 fps
It can be set by using WTArchitectStartupConfiguration.targetFrameRate.
Camera Zoom
Digital zoom can be controlled by using AR.hardware.camera.zoom.
Flashlight
The flashlight can be turned on and off by using AR.hardware.camera.flashlight.
Front Camera
The first part of the series will present a set of POIs in the 8 compass directions using the front camera of the device, if available. The POIs are loaded from a local JSON file, using a different offset value for each POI to put them around the user in different directions.
The example Retrieving POI Data already explained how to load POI data from a local resource and display them in the augmented reality view.
This example shows how to initialize the ARchitectView using the front camera of the device.
The SDK can be configured to start with an active front camera using the WTStartupConfiguration object provided in the -start:completion: method. The first block that is passed to the -start:completion method provides an already pre configured startup configuration object which can be used to change any default values. Before the SDK starts rendering, the object is used to determine which settings are overwritten. An example implementation looks like the following:
[self.architectView start:^(WTStartupConfiguration *configuration) {
    configuration.captureDevicePosition = AVCaptureDevicePositionFront; // The front camera is used when the SDK starts
} completion:^(BOOL isRunning, NSError *error) {
    if ( !isRunning )
    {
        NSLog(@"Wikitude SDK is not started. Reason: %@", [error localizedDescription]);
    }
}];
The second block can be used to react on any errors that occurred during startup. It provides a BOOL reflecting the running state and a NSError object in case the SDK does not run
Camera Switching
The second part uses the same POIs, but starts the augmented reality view with the default configuration.
The user can then switch between front facing and rear camera by pressing the button "Switch Camera". The button is defined in index.html and calls World.switchCam() on click:
    /*
     * Switch between front and back camera
     */
    switchCam: function switchCamFn() {
        if (AR.hardware.camera.position == AR.CONST.CAMERA_POSITION.FRONT) {
            AR.hardware.camera.position = AR.CONST.CAMERA_POSITION.BACK
        } else {
            AR.hardware.camera.position = AR.CONST.CAMERA_POSITION.FRONT
        }
    }
The Marker constructor function also sets the mirrored flag of the marker title and description. See marker.js for details about how this is implemented: the odd-numbered POIs have mirrored titles, and even-numbered POIs have mirrored descriptions.
This flag has no effect when viewing the AR scene through the rear camera. When using the front facing camera, all objects are mirrored like the camera image, except Label and HTMLDrawable object. By setting the mirrored flag you can override the default behaviour.
Advanced Features
The third example shows how to use the remaining functionality of the hardware access API.
By pressing the button "Camera Info" the user can obtain information about which hardware feature are available on the device camera:
    // display camera info panel
    showCamInfo: function showCamInfoFn() {
        // update panel values
        var features = AR.hardware.camera.features;

        $("#camera-focus-modes").html(features.focusModes.join());
        $("#camera-positions").html(features.positions.join());
        $("#camera-zoom-max").html(Math.round(features.zoomRange.max));

        // show panel
        $("#panel-caminfo").panel("open", 123);
    }
When the user presses the button "Camera Control" another panel is shown, with more controls available to the user.
- Zoom initially set to 1: the zoom factor ranges between 1 and a maximum value, which depends on the device capabilities.
- Autofocus: when checked, the continuous autofocus function of the camera is active. By disabling it, the camera locks the focus on the currently framed object.
- Manual Focus Distance: initially set to 0: the manual focus distance ranges between 0.0 and 1.0.
- Flashlight: by checking this box, the user can turn the flashlight on and off.
To use the camera zoom, you can read or change the value of AR.hardware.camera.zoom:
    // updates values shown in "control panel"
    updateRangeValues: function updateRangeValuesFn() {

        // get current slider value (0..100);
        var slider_value = $("#panel-zoom-range").val();

        // zoom level (1 up to max available)
        var maxRangeValue = Math.round((AR.hardware.camera.features.zoomRange.max - 1) * (slider_value / 100) + 1);

        // update UI labels accordingly
        $("#panel-zoom-value").html(maxRangeValue);

        AR.hardware.camera.zoom = maxRangeValue;
    },
The value of AR.hardware.camera.focusMode represents the focusing mode of the camera and can be set to AR.CONST.CAMERA_FOCUS_MODE.CONTINUOUS or AR.CONST.CAMERA_FOCUS_MODE.ONCE.
Continuous mode is the default if the device supports it, in this mode the camera will try to refocus automatically when necessary.
By setting the focus mode to ONCE you can force the camera to refocus once on the current view. If you need to change focus you can set this value again. Each time the value ONCE is set, the camera tries to focus on the current scene again:
    // updates values shown in "control panel"
    updateFocusMode: function updateFocusModeFn() {

        // get current checkbox status
        var check_value = $("#panel-focus-auto").is(":checked");

        if (check_value) {
            AR.hardware.camera.focusMode = AR.CONST.CAMERA_FOCUS_MODE.CONTINUOUS;
        } else {
            AR.hardware.camera.focusMode = AR.CONST.CAMERA_FOCUS_MODE.ONCE;
        }
    },
To use the manual focus distance, you can read or change the value of AR.hardware.camera.manualfocusdistance:
AR.hardware.camera.manualFocusDistance = parseInt(slider_value) / 100;
Not every device supports this feature, so you can use AR.hardware.camera.manualFocusAvailable to find out if manual focus is available. In our sample we use this to hide the slider if necessary.
if (!AR.hardware.camera.manualFocusAvailable) {
    document.getElementById("panel-focus-distance").style.display = "none";
}
To access the flashlight, you can read or change the value of AR.hardware.camera.flashlight:
    // updates values shown in "control panel"
    updateFlashlight: function updateFlashlightFn() {

        // get current checkbox status
        var check_value = $("#panel-flashlight").is(":checked");
        AR.hardware.camera.flashlight = check_value;
    },
Functionality that is not directly visible through UI controls are touch to focus and touch to expose. This example is setup to use the AR.hardware.camera.setFocusPointOfInterest and AR.hardware.camera.setExposurePointOfInterest APIs to define focus and exposure point of interest for the camera based on user input.
The most likely use case of this API is to connect it with the AR.context.onScreenClick callback and use the provided screen coordinate to refocus or reexpose the camera at this coordinate.
AR.context.onScreenClick = function (touchLocation) {
    AR.hardware.camera.setFocusPointOfInterest(touchLocation);
    AR.hardware.camera.setExposurePointOfInterest(touchLocation);
}
It would also be possible to specify the coordinate manually, meaning not to connect it to an actual user interaction.