Setup Guide Xamarin
Introduction to the Augmented Reality View
From a technical point of view the SDK adds a UI component called ARchitectView, similar to a web view. In contrast to a standard web view the AR View can render augmented reality content.
Content developed for the AR View is written in JavaScript and HTML.
augmented reality experience and ARchitect World synonymously - both of them refer to augmented reality parts of your application.
Prerequisites
- Visual Studio Tools for Xamarin installed.
- Android SDK installed on your development machine (Android development only)
- Xcode installed on your development machine (iOS development only)
- Your personal trial license key from License Page
Setup and Configuration
The setup chapter includes several guides to setup the Wikitude SDK (through the Wikitude SDK NuGet package). If you want to create an empty app including the component or add it to an existing continue reading. Alternatively you can read about the packaged Example App and how to use the Wikitude NuGet package.
Creating an empty new app
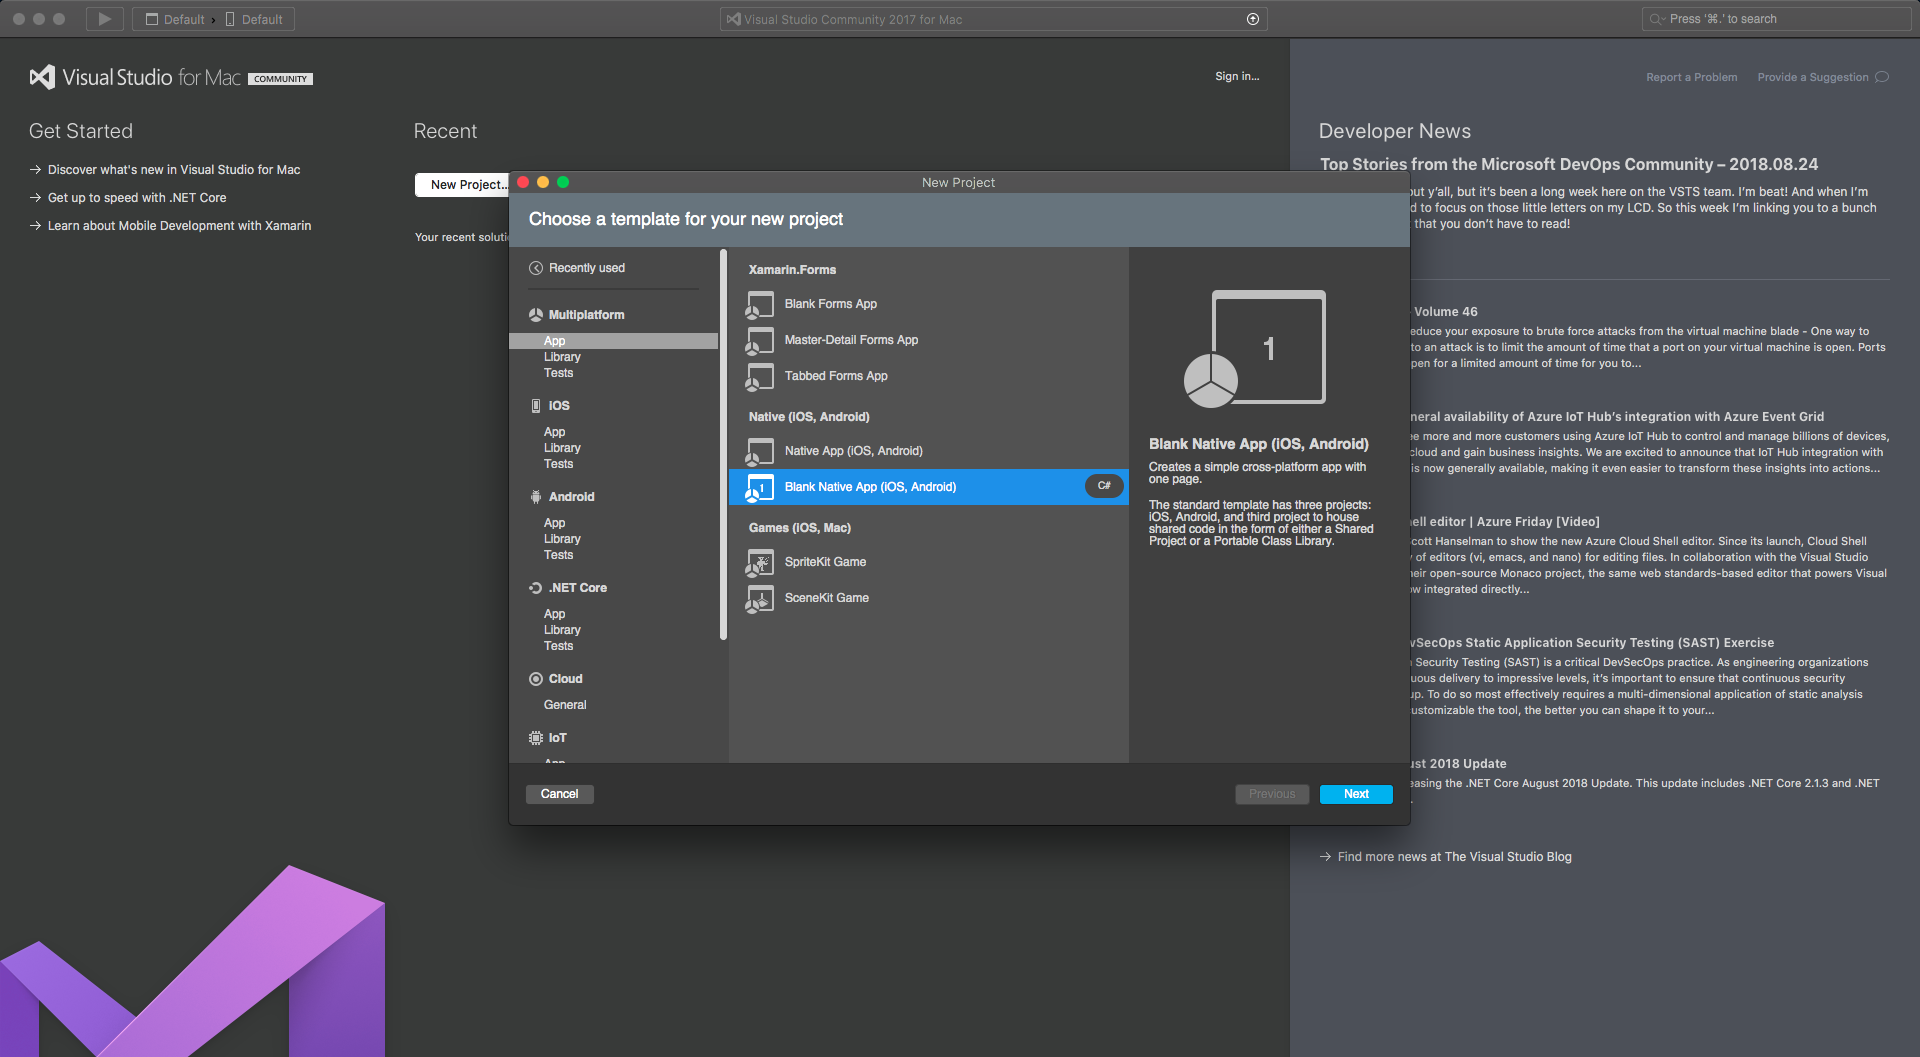
- Open Visual Studio and open create a new solution. Choose Multiplatform - App - (Blank) Native App
- Set the App name and Organization Identifier. If you already purchased a license, please set the
Organization Identifierto the package name you provided us with.
- The Wikitude JS package can be downloaded and installed like any other NuGet package from nuget.org. Search for
Xamarin.Wikitude.SDK.JS.

Using the Wikitude package
Setup of the ArchitectView
Android
Before using the ArchitectView it has to be ensured that the Application has permissions to use the camera. For this <uses-permission android:name="android.permission.CAMERA" /> has to be added to the AndroidManifest.xml and for devices running on Android 6.0+ permissions have to be requeseted during runtime. In the case that the App was using the camera before starting the ArchitectView it has to be ensured that the camera was released properly.
It also has to be ensured that the minSdkVersion of the build.gradle file is 23 or higher:
android {
    ...
    defaultConfig {
        minSdkVersion 23
        ...
    }
}
The Activity holding the AR-View (called architectView in the following) must have set ConfigurationChanges = Android.Content.PM.ConfigChanges.Orientation | Android.Content.PM.ConfigChanges.KeyboardHidden | Android.Content.PM.ConfigChanges.ScreenSize.
[Activity(Label = "SimpleArActivity", ConfigurationChanges = Android.Content.PM.ConfigChanges.Orientation | Android.Content.PM.ConfigChanges.KeyboardHidden | Android.Content.PM.ConfigChanges.ScreenSize)]
public class SimpleArActivity : Activity
{
    ...
}
The next step is to connect the Activity lifecycle with the ArchitectView lifecycle. The required ArchitectView are OnCreate(ArchitectStartupConfiguration), OnPostCreate(), OnResume(),OnPause() and OnDestroy().
When creating an ArchitectStartupConfiguration a license key has to be set. How to get a trial license key is shown here.
protected override void OnCreate(Bundle savedInstanceState)
{
    base.OnCreate(savedInstanceState);
    var config = new ArchitectStartupConfiguration
    {
        LicenseKey = "YOUR-LICENSE-KEY",
        CameraPosition = CameraSettings.CameraPosition.Back,
        CameraResolution = CameraSettings.CameraResolution.FULL_HD_1920x1080,
        CameraFocusMode = CameraSettings.CameraFocusMode.Continuous,
        ArFeatures = ArchitectStartupConfiguration.Features.ImageTracking
    };

    architectView = new ArchitectView(this);
    architectView.OnCreate(config);

    SetContentView(architectView);
}
protected override void OnPostCreate(Bundle savedInstanceState)
{
    base.OnPostCreate(savedInstanceState);
    architectView.OnPostCreate();
}
protected override void OnResume()
{
    base.OnResume();
    architectView.OnResume();
}

protected override void OnPause()
{
    base.OnPause();
    architectView.OnPause();
}

protected override void OnDestroy()
{
    base.OnDestroy();
    architectView.OnDestroy();
}
iOS
Before using the WTArchitectView it has to be ensured that the Application has permissions to use the camera. For this the NSCameraUsageDescription has to be added to the applications Info.plist. Additionally the Wikitude SDK offers a class to check and show the user authorization dialog. WTAuthorizationRequestManager can be used before the Wikitude SDK is actually allocated to ensure all permissions are given and camera access is granted. Please refer to our Xamarin example application on how to use this class.
The next step is to connect the ViewController lifecycle with the ArchitectView lifecycle.
The WTArchitectView has a -start: and -stop method that are ideally called whenver the view controller is visible to assure that the camera is running when the view is shown and stopped when another view/view controller is presented.
In addition, the WTArchitectView needs to be notified about device rotation events. Use -setShouldRotateToInterfaceOrientation to do so.
When creating an WTArchitectVIew, a license key has to be set. How to get a trial license key is shown here. Use the -setLicenseKey method to set the license key.
public override void ViewDidLoad()
{
    base.ViewDidLoad();
    // Perform any additional setup after loading the view, typically from a nib.

    architectView = new WTArchitectView();
    architectView.SetLicenseKey("YOUR-LICENSE_KEY");
    delegateObject = new ArchitectDelegate(this);
    architectView.Delegate = delegateObject;
    architectView.TranslatesAutoresizingMaskIntoConstraints = false;
    Add(architectView);

    architectView.CenterXAnchor.ConstraintEqualTo(View.CenterXAnchor).Active = true;
    architectView.CenterYAnchor.ConstraintEqualTo(View.CenterYAnchor).Active = true;
    architectView.WidthAnchor.ConstraintEqualTo(View.WidthAnchor).Active = true;
    architectView.HeightAnchor.ConstraintEqualTo(View.HeightAnchor).Active = true;
}

public override void ViewWillAppear(bool animated)
{
    base.ViewWillAppear(animated);

    StartArchitectViewRendering();

    applicationWillResignActiveObserver = NSNotificationCenter.DefaultCenter.AddObserver(UIApplication.WillResignActiveNotification, ApplicationWillResignActive);
    applicationDidBecomeActiveObserver = NSNotificationCenter.DefaultCenter.AddObserver(UIApplication.DidBecomeActiveNotification, ApplicationDidBecomeActive);
}

public override void ViewDidDisappear(bool animated)
{
    base.ViewDidDisappear(animated);

    StopArchitectViewRendering();

    NSNotificationCenter.DefaultCenter.RemoveObserver(applicationWillResignActiveObserver);
    NSNotificationCenter.DefaultCenter.RemoveObserver(applicationDidBecomeActiveObserver);
}

public override void ViewWillTransitionToSize(CGSize toSize, IUIViewControllerTransitionCoordinator coordinator)
{
    if (coordinator != null)
    {
        coordinator.AnimateAlongsideTransition((IUIViewControllerTransitionCoordinatorContext context) =>
        {
            UIInterfaceOrientation newInterfaceOrientation = UIApplication.SharedApplication.StatusBarOrientation;
            architectView.SetShouldRotateToInterfaceOrientation(true, newInterfaceOrientation);
        }, null);
    }
    else
    {
        UIInterfaceOrientation newInterfaceOrientation = UIApplication.SharedApplication.StatusBarOrientation;
        architectView.SetShouldRotateToInterfaceOrientation(true, newInterfaceOrientation);
    }

    base.ViewWillTransitionToSize(toSize, coordinator);
}

public void ArchitectWorldFinishedLoading(WTNavigation navigation)
{
    if ( loadingArExperienceNavigation.Equals(navigation) )
    {
        loadedArExperienceNavigation = navigation;
    }
}

#region Notifications
private void ApplicationWillResignActive(NSNotification notification)
{
    StopArchitectViewRendering();
}

private void ApplicationDidBecomeActive(NSNotification notification)
{
    StartArchitectViewRendering();
}
#endregion

#region Private Methods
private void StartArchitectViewRendering()
{
    if (!architectView.IsRunning)
    {
        architectView.Start((WTArchitectStartupConfiguration architectStartupConfiguration) =>
        {
            // customize the parameter with which the Wikitude SDK should be started
        }, (bool success, NSError error) =>
        {
            // evaluate the error and e.g. show an alert to notify the user what went wrong
        });
    }
}

private void StopArchitectViewRendering()
{
    if (isRunning)
    {
        architectView.Stop();
    }
}
#endregion
Creating and Loading your augmented reality experience
To display AR content in the ArchitectView an AR experience has to be created and laoded.
The experiences are written in HTML and JavaScript and call methods in Wikitude's AR-namespace (e.g. AR.GeoObject).
AR experiences have to include
<script src="https://wikitude.com/libs/architect.js"></script>
in the html files to use the AR namespace and the architectView will handle them properly. To test an ARchitect World on a desktop browser, you must include ade.js tool instead to avoid JavaScript errors and see a development console.
How to create AR experiences with different kinds of targets and overlays are shown in Examples Tutorials and the following example documentation.
Android
To load an Architect World simply use the Load method of the ArchitectView. It accepts either an relative URL pointing to the asseets or on a remote server.
This can be done after OnPostCreate.
protected override void OnPostCreate(Bundle savedInstanceState)
{
    base.OnPostCreate(savedInstanceState);
    architectView.OnPostCreate();
    architectView.Load("samples/01_ImageTracking_1_ImageOnTarget/index.html");
}
architectView.load('arexperience.html?myarg=1')
iOS
To load an Architect World simply use the -LoadArchitectWorldFromURL method provided by the Wikitude SDK. It accepts either an URL pointing to the application bundle or a remote server.
NSUrl bundleArExperienceURL = NSBundle.MainBundle.GetUrlForResource("index", "html");
architectView.LoadArchitectWorldFromURL(bundleArExperienceURL);
architectView.LoadArchitectWorldFromURL('arexperience.html?myarg=1')
Adding communication between Xamarin and ARchitect
In order to communicate with the augmented reality experience from within the Xamarin application the Wikitude SDK offers the CallJavaScript(string javaScript) method. The JavaScript will be evaluated in the context of the augmented reality experience. If the augmented reality experience is not fully loaded at the time this function is called, it will be evaluated as soon at the experience is loaded.
The Wikitude SDK defines a method which can be used to communicate from the ARchitect World to the Xamarin application. You can set a C# method that is called each time a AR.platform.sendJSONObject() request is done. Please refer to the iOS/Android documentation or API reference for more information about the platform specific implementation details.